 |
| VLC Media Player |
VLC is a highly capable media player. It can be used to watch videos and listen to music, as well as to download torrents. When it comes to screen recording in Windows 10, most of us turn to third-party apps. You don't have to, though. VLC has a feature-rich desktop recording application that makes simple video jobs a breeze. It isn't the most attractive solution, but it is likely to meet your needs. In this article, I'll show you how to use VLC Media Player to record your screen. The actions to take are as follows:
Step 1
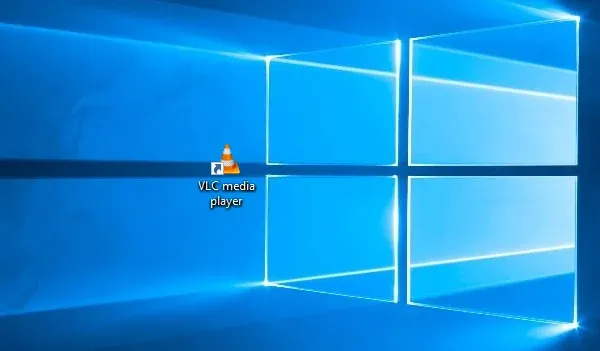 |
| VLC Media Player |
The first thing is you must have VLC Media Player. Download and install VLC Media Player on your computer (click here to download). After installation, you can start using it.
Step 2
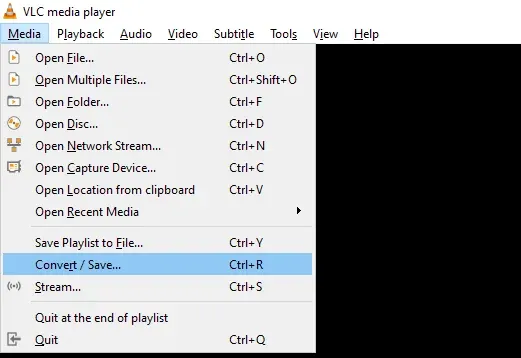 |
| Go to Media |
Go to the Media tab and choose Convert / Save from the drop-down menu.
Step 3
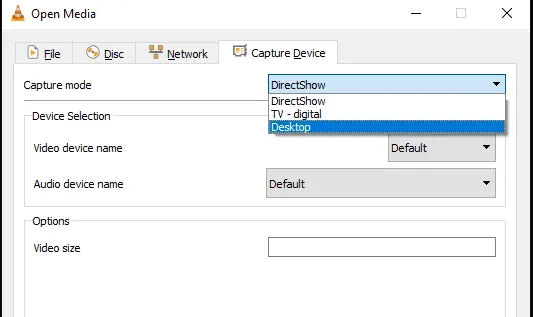 |
| Chose Capture Device |
From the menu, choose Capture Device. From the Capture mode dropdown, choose Desktop.
Step 4
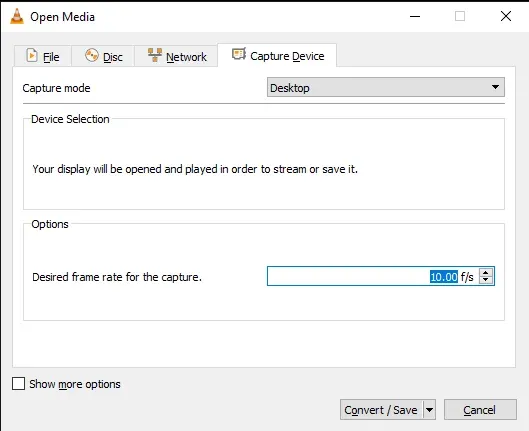 |
| Chose Frame Rate |
Choose your preferred frame rate. If you're not filming fast-moving objects or video, 10 frames per second (FPS) is usually enough. Click at the bottom, Convert / Save.
Step 5
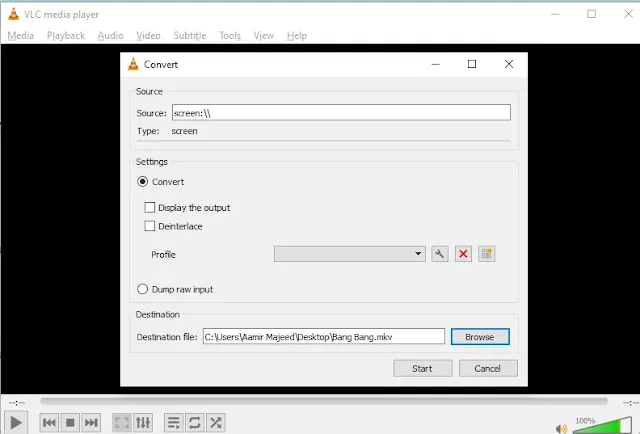 |
| Save File |
Select a location to save to by clicking Browse and then pressing the Save button. Your recording will begin after you press the Save button.
Conclusion
Recording your desktop screen is one of those things that's pretty easy to do but sometimes difficult to get just right. Thankfully, a tool like VLC is here to make things a lot easier. Follow all the above steps and record your desktop screen and Enjoy.
Post a Comment